
The latest plugin from Topaz
Many of us who like to create photo art had our plans for the past week derailed by the unveiling of Topaz’ Texture Effects filter, both as a plugin for Adobe and Corel image editing applications, and as a standalone so anyone can use it. In fact, the feature set is pretty complete, beginning with Basic Adjustments for tone and color, through a number of modifications right through to adding a final border to your image. If you like to create photo art with the small phone apps such as Snapseed, but want more powerful features without purchasing one of the more major (and expensive) applications, Texture Effects just might be the right program to try.
The question I heard, and that I had to ask myself when I decided to download a trial copy, was why do I need this plugin— since I do own Photoshop and have been adding textures to my photos for quite some time now. It’s not that difficult to drag a texture into Photoshop from Bridge, place it on top of an image layer, experiment with blending modes, opacity, masking, etc. And I already have a very large collection of textures, borders, glows—the kind of image files Topaz supplies in abundance with the plugin. I don’t really need any more. So what does this do for me?
The answer, I found, was that the plugin is a giant preview machine to get you going. With an image loaded and in one of the effect modules that use images, hover over a thumbnail and see what it would look like applied to the image in whatever blend mode you currently have selected. You can view a variety of effects incredibly quickly, compared to the “find it on your hard drive, drag it into your file, then see if you like it” method, with the inevitable rinse and repeat until you find something that works. You can hover over blending modes and see how each will effect the selected texture. The blending modes are equivalents to Photoshop’s blending modes, and will be familiar to Adobe users. And you don’t have to know anything about blending modes with the hover-and-see-what-it-does approach.


You can use any combination of effects. You don’t have to use them all, and you can use each of them multiple times. If you’d like to apply three images as Textures, or ten, you can. You can rearrange the stacking order, too, but you’ll lose any masks you’ve applied to the effects. Which brings up the most important feature a texturizing plugin can have—the ability to mask where an effect gets applied. Each effect, or “layer,” gets its own mask. And the last effect, in case you want it, is a Mask that lets you modify how the whole effect is applied to your base image.

Furthermore, you can save any combination of effects as a single preset. Topaz ships with a large selection of presets already created for us, and has set up a “Community” that lets you share Texture Effects presets with other users. Presets are another part of this giant preview machine. After loading an image, you can open the Preset Grid view and get inspiration from viewing presets applied to your image from your local installation, from the Community, or both. If you like a Community preset, you can log in to the Community and download that preset to your own machine. Obviously, there are rules about sharing texture files that you don’t own full rights to, but a user can choose to share textures that s/he does own, or simply use Topaz assets to create new presets for everyone to enjoy.
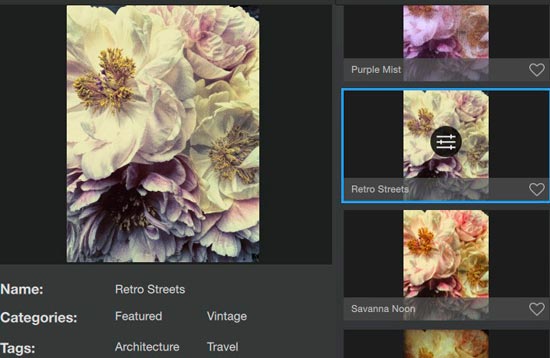
You can search for presets by type, by category, and by any part of its name, which makes it easier to find the type of preset you want if you already have an idea. When you click on one of the small thumbnails, a preview pane on the left provides a larger view, as well as metadata for the preset. If you click in the center of the preset, just like Topaz Impression, you open the editing module for customizing the preset.

This is a version 1 of the application, and not everything is perfect. I’ve found that it isn’t as responsive to my input devices as their other plugins. I can click on a blend mode and not have it get selected. I can click on a slider and not have it respond to being dragged. It usually only takes a second click to get it in gear, so a minor annoyance, but there are a few small issues like that. Otherwise, so far it’s been stable and pretty quick on both my Macs.
And while you can import your own files, even create your own categories for them, you can only import TIFF, JPEG, and PNG formats—plus no transparency is supported. If you want to import PNGs with transparency, you’ll need to give some thought to whether you want a black, white, or neutral gray background in order to drop it out with a corresponding blend mode. Texture Effects will otherwise substitute black for the transparent regions.
But if you like to use textures when you’re creating digital art, even with small niggles this filter makes it much easier, quicker, and just plain more inspirational to work with them. Topaz Texture Effects seems well worth at least the time to download the free trial, the free manual (it’s short), and give it a whirl to see if it has a place in your own workflow.


I like your review style, Crisscraps. Very authentic :). Would love to feature your reviews in our weekly curated email digest that goes out to thousands of people.
LikeLike
Thank you very much. I don’t often do reviews, but if I start doing more, I’ll definitely consider your generous offer.
LikeLiked by 1 person
Sure thing! If you let me know your email we’ll send the details. Thanks 🙂
LikeLike