Tinting in Photoshop
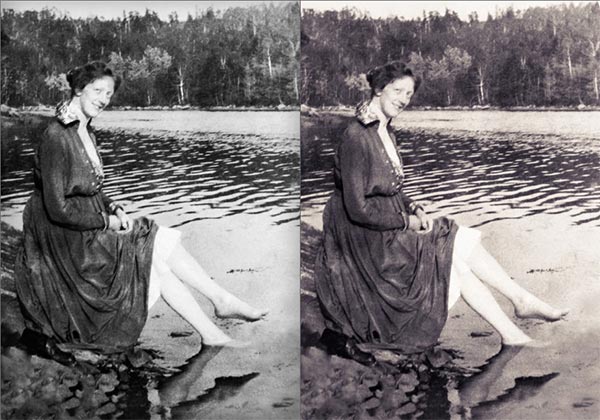
When I last worked on Trudie Ann, I created a B&W version that I liked (see “Restoring Trudie Ann Part 4”). Next I wanted to see if I’d like the old photo better if I tinted it the way many old photos were developed. Using the digital darkroom instead of the traditional wet darkroom, we can easily and quickly experiment with many different looks. Photoshop has always made it easy to tint photos, so while I love using 3rd party plug-ins for many effects, tinting is one where I often simply use what’s built in to Photoshop.
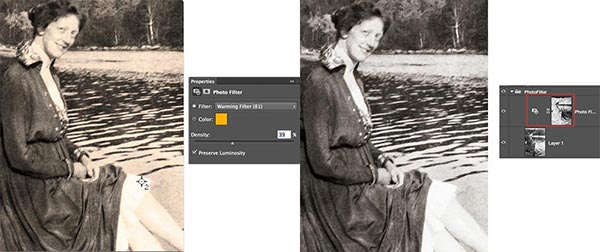
Tinting with the Photo filter: Using one of the Warming presets will create a warm brown tint. However, when tinting the entire image, the lights and highlights also become colored, often muddying the contrast for the entire image. I created a basic luminosity mask by Cmd/Ctrl-clicking on the composite channel’s thumbnail (the RGB channel), inverted the selection (Cmd/Ctrl-Shift-I) to select the darker half of the image, and added it as a mask to the Photo Adjustment layer. This blocked the color from affecting the lights, keeping the tonal range bright and crisp, while still warming up the darker grays with a brown tint.

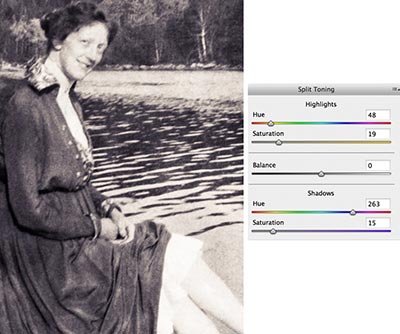
Tinting with the Camera Raw filter: The Camera Raw filter allows us to use most of the features of Camera Raw on any image layer inside Photoshop CC itself. I converted the image layer to a Smart Object to make Camera Raw a Smart (re-editable) Filter, then opened Camera Raw and turned to the Split Tone tab. Here I used a pale yellow for the highlights and a cool violet for the shadows, both at low saturation to only slightly tint the photo. If either the highlights or the shadows extended over too large an area of the image, I could have adjusted the balance to make a more pleasing split tone. In this instance, I don’t think it was necessary.

Tinting with a Solid Color Adjustment: I have a few old photos that my grandfather printed when he was very young and learning to use a traditional darkroom, among which were some cyanotypes. To recreate the look, I selected the Solid Color Adjustment layer while holding down the Option/Alt key in order to bring up the New layer dialog. I checked on Use Previous Layer as a Clipping Mask, and set the Mode to Color. Next in the Color picker, I selected a blue for the darker half of the image. Again, I loaded the Luminosity Mask from the composite channel and inverted it, then added the mask to the layer, effectively protecting the lights from being colored. In my grandfather’s print, the lights were colored, but appeared greener than the darks. This may have been the result of age, rather than the original process, but I liked the look and added another Solid Color layer to tint the lights with a turquoise. I copied the mask to that layer (hold the Option/Alt key down and drag), then inverted it (Cmd/Ctrl-I).

Photoshop has other basic ways to tint, including using the very old, but still useful, Duotone mode, and I’ll show the results from using some more techniques in another installment of Restoring Trudie Ann.

